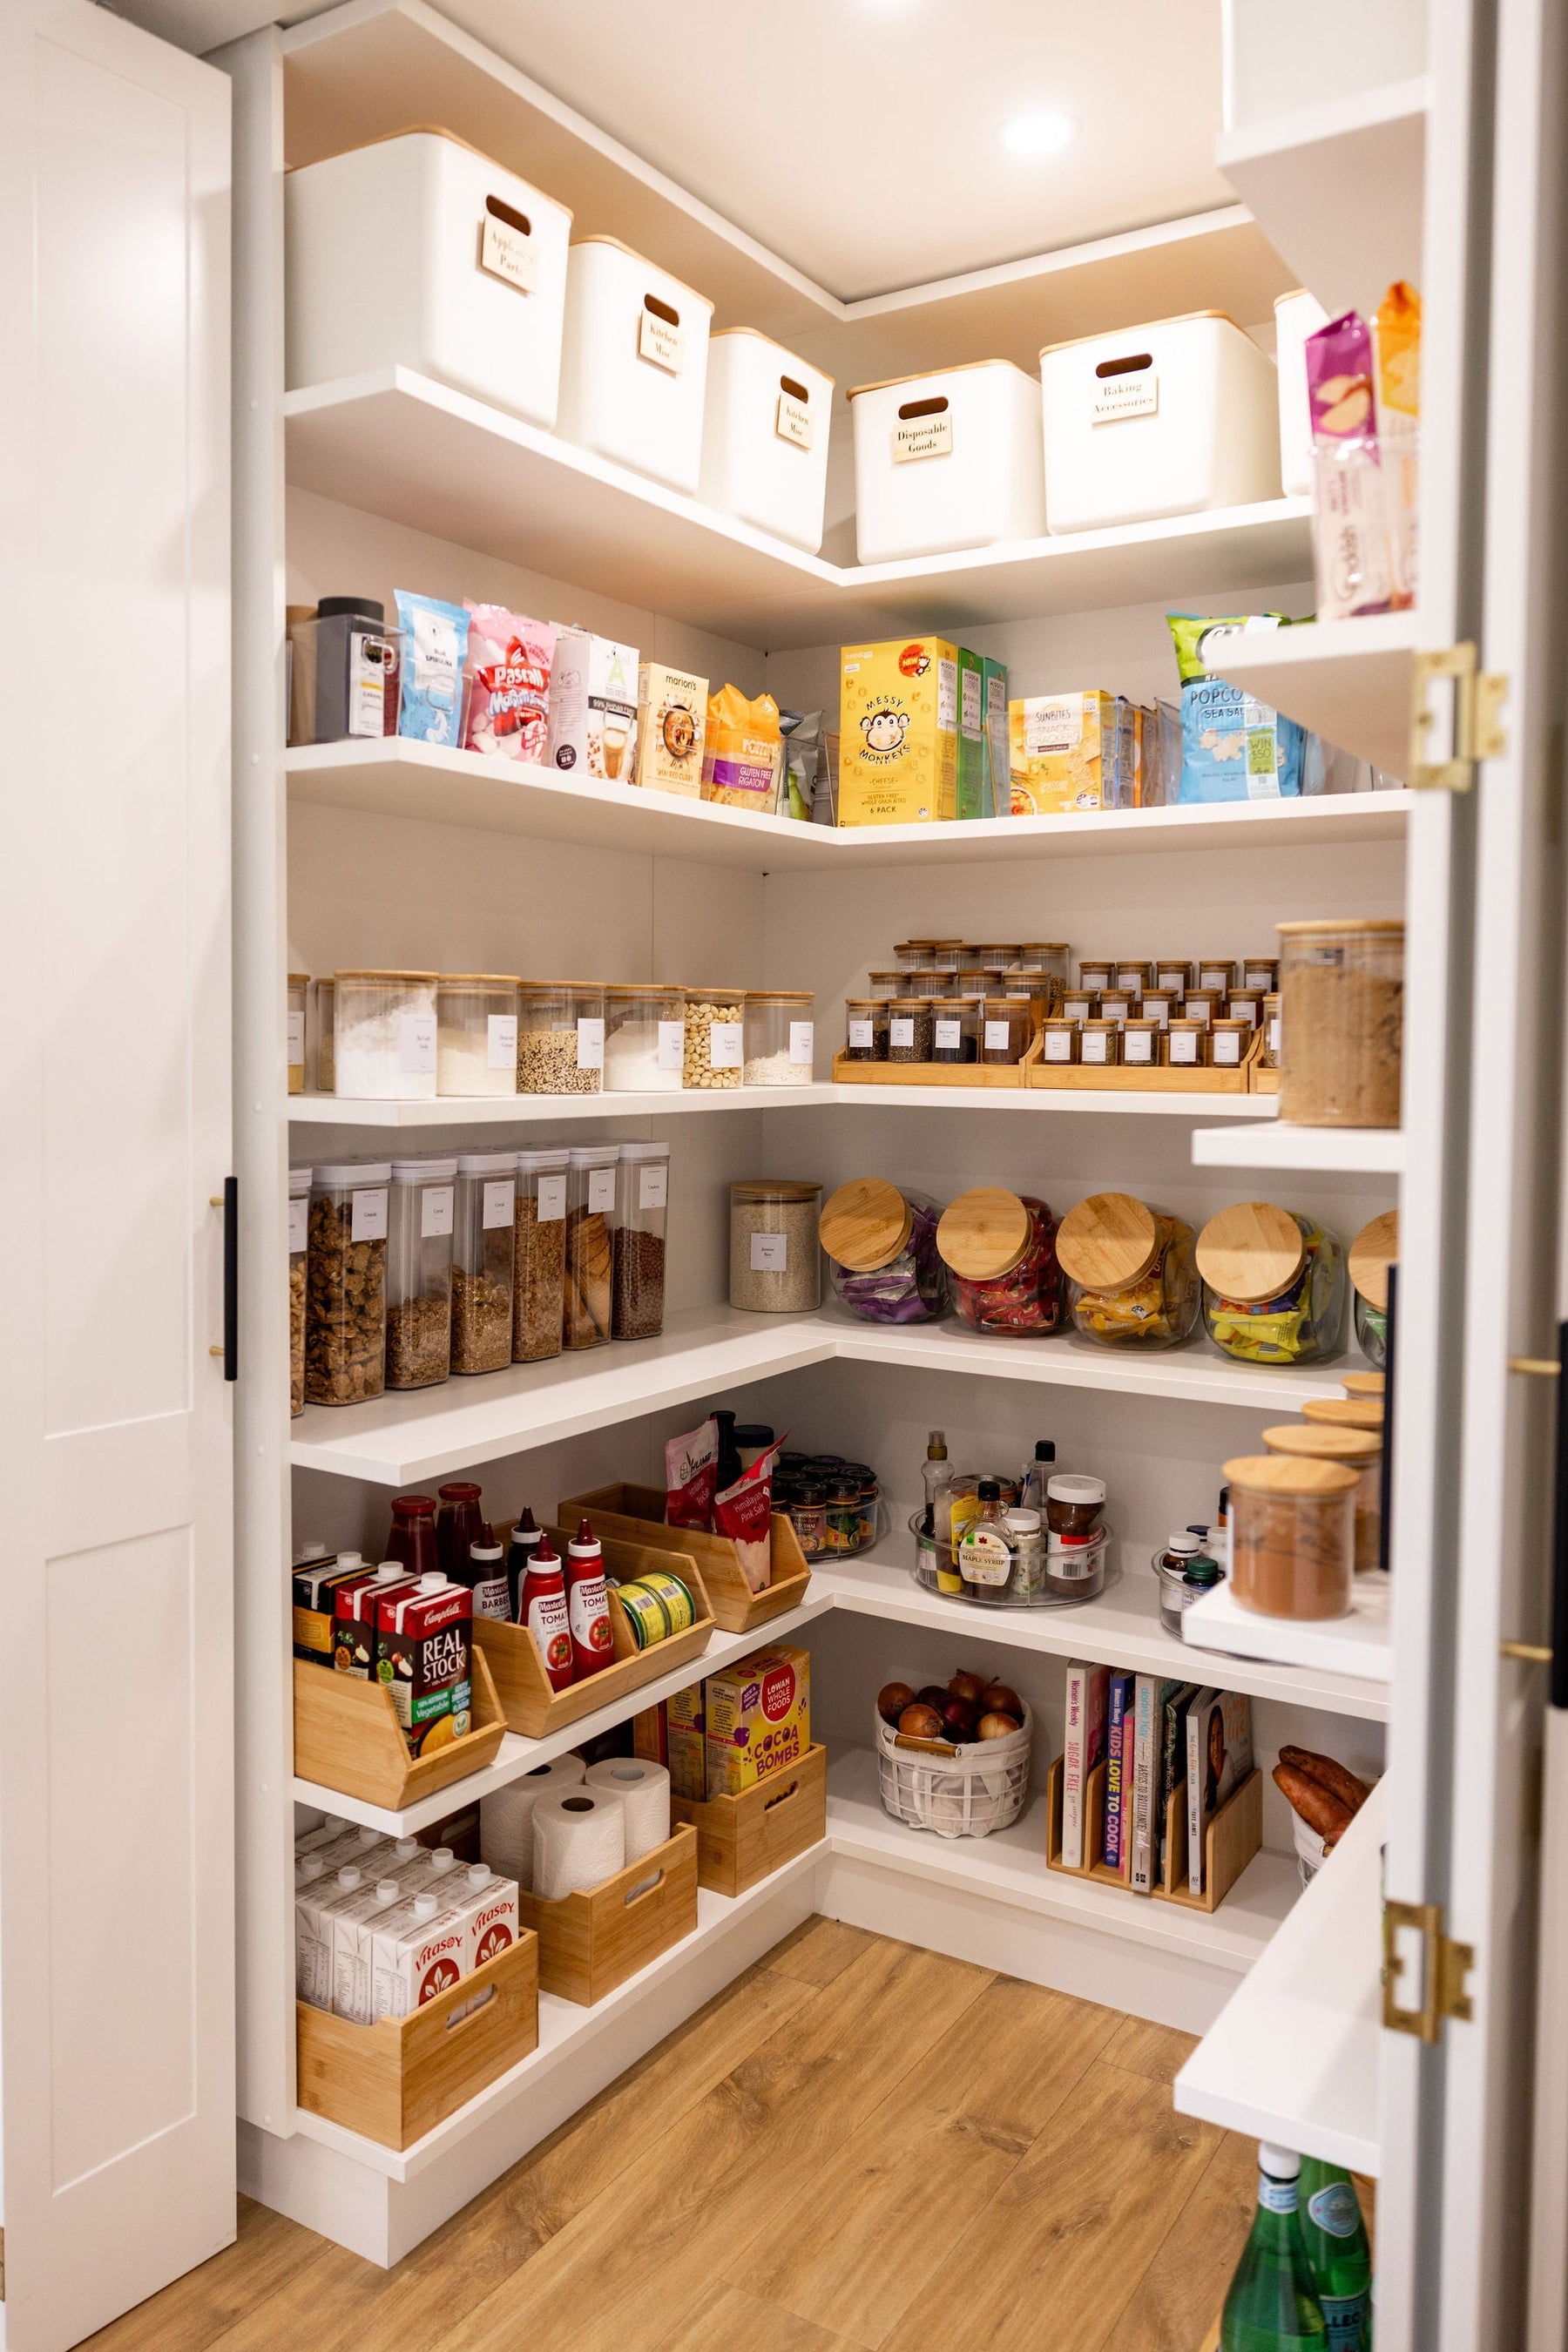
10 Easy Steps to a More Organised Pantry
Is your pantry a chaotic mess of half-empty packets, expired cans, and hard-to-reach items? Don’t worry—you’re not alone! With a little bit of effort and the right tools, you can transform your pantry into a neat, functional space that saves you time and reduces food waste. At Little Label Co, we’re here to guide you through the process with these 10 easy steps to a more organised pantry.
Why Should You Organise Your Pantry?
A well-organised pantry isn’t just pretty—it’s practical. It helps you find what you need quickly, prevents overbuying, and keeps food fresher for longer. Plus, it makes cooking and meal planning so much easier!
10 Easy Steps to Organise Your Pantry
Step 1: Empty Everything Out
Start by taking everything out of your pantry. Yes, everything! This gives you a clean slate to work with and lets you see exactly what you have. Place items on a table or counter for sorting.
Step 2: Check Expiry Dates
As you remove items, check their expiration dates. Toss anything that’s expired or no longer usable. For items nearing their expiry date, set them aside for immediate use in your next meal plan.
Step 3: Group Similar Items Together
Sort your pantry goods into categories like snacks, canned goods, baking supplies, dry ingredients, and spices. Grouping similar items together makes it easier to find what you need later on.
Step 4: Clean Your Shelves
Before putting anything back, give your shelves a good wipe-down with a non-toxic cleaner and a microfibre cloth. A clean pantry is the foundation of good organisation!
Step 5: Plan Your Layout
Think about how you use your pantry and create zones that suit your lifestyle:
- Everyday staples: Keep these at eye level for easy access.
- Snacks: Store in baskets or on lower shelves for kids to grab easily.
- Dry goods: Use airtight containers to keep them fresh and pest-free.
- Canned goods: Line them up in rows for visibility.
Step 6: Invest in Storage Solutions
Good storage is key to an organised pantry! Consider these options:
- Airtight containers: Perfect for dry goods like flour and pasta.
- Turntables: Great for oils and sauces—just spin to find what you need.
- Stackable bins: Maximise vertical space on shelves.
Check out Little Label Co.’s stylish storage containers for solutions that are both practical and beautiful!
Step 7: Decant Loose Items
Transfer loose items like flour, sugar, and cereal into clear containers. Not only does this keep them fresh, but it also makes your pantry look super tidy! Don’t forget to label each container so you know what’s inside.
Step 8: Label Everything
Labelling is a game-changer! Use custom labels from Little Label Co to identify each container clearly. You can even write expiry dates on the bottom with a whiteboard marker for added convenience.
Step 9: Arrange Neatly
Put everything back into the pantry in its designated zone. Place frequently used items at eye level and less-used items higher up or further back. Make sure labels are visible for quick identification.
Step 10: Meal Plan Regularly
Use up any soon-to-expire products by incorporating them into your weekly meal plan. This step helps reduce food waste while keeping your pantry clutter-free.
FAQs About Pantry Organisation
How often should I reorganise my pantry?
We recommend tidying up every few months to ensure everything stays in its place and nothing goes to waste.
What’s the best way to prevent food wastage?
Group items nearing their expiry date together and plan meals around them first.
Why are airtight containers important?
They keep food fresh longer and prevent pests from getting in—plus, they make your pantry look sleek and organised!

Leave a comment